One of the rooms that often gets neglected when it comes to home decor, despite being often one of the most frequented rooms in the house, is the kitchen. As someone who loves eating with a special affinity towards home cooked food but also someone who doesn’t really enjoy cooking, I still spend a considerable amount of time in my kitchen as I have got a family to feed (and that foodie in me satisfied). So, when we bought our 75 year old house (yes it’s THAT old), one thing I was sure about was, if I want to enjoy cooking in the slightest, I need to have a nice and inviting enough kitchen. However, due to budget constraints, had to live with the then existing kitchen for 2.5 years. Finally, came the day we decided to go ahead with a cosmetic makeover, if not a complete overhaul.
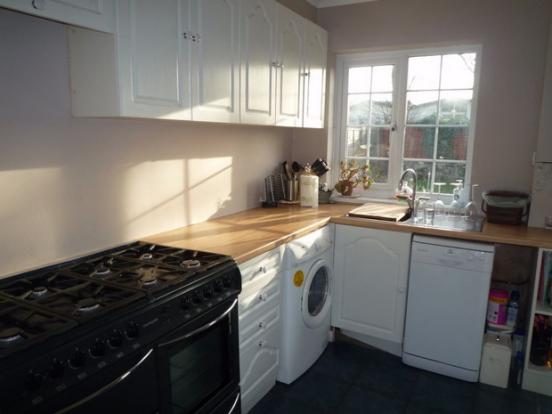
Here is a BEFORE pic of the kitchen that the previous owner handed over to us. I had no idea I will be starting a blog else would have taken a proper, good quality Before pic but that’s all I have got so you guys have to do with this only.
The Kitchen came with decent enough white cabinets so in order to save some ££, I decided to keep them and just go with a good lick of paint and decorative accessories. After many cups of chai down my throat and zillions of Pinterest pictures later, the final look was decided: a country-inspired vintage styled kitchen. With this sorted, the next step was to find that ideal looking country blue to go on the walls, which proved to be nothing less than looking for the holy grail! After trying a few samples (again got the names from home decor magazines and Pinterest.. they really are a god send), I picked a slightly customised shade from Dulux. This particular range didn’t have samples in-store but Dulux was offering online free sample delivery service with £1 charge. So went with that and ordered 2 shades from the same colour range: Sea Urchin 4 and Sea Urchin 5 and after a patch test, number 4 it was.
Initially the plan was to do the paint job myself, having painted a few walls and one whole room before, but there were far too many cracks to fill and too much sanding to do so decided on having a professional painter/decorator do it. And am so glad I did, as the end finish couldn’t have been better.
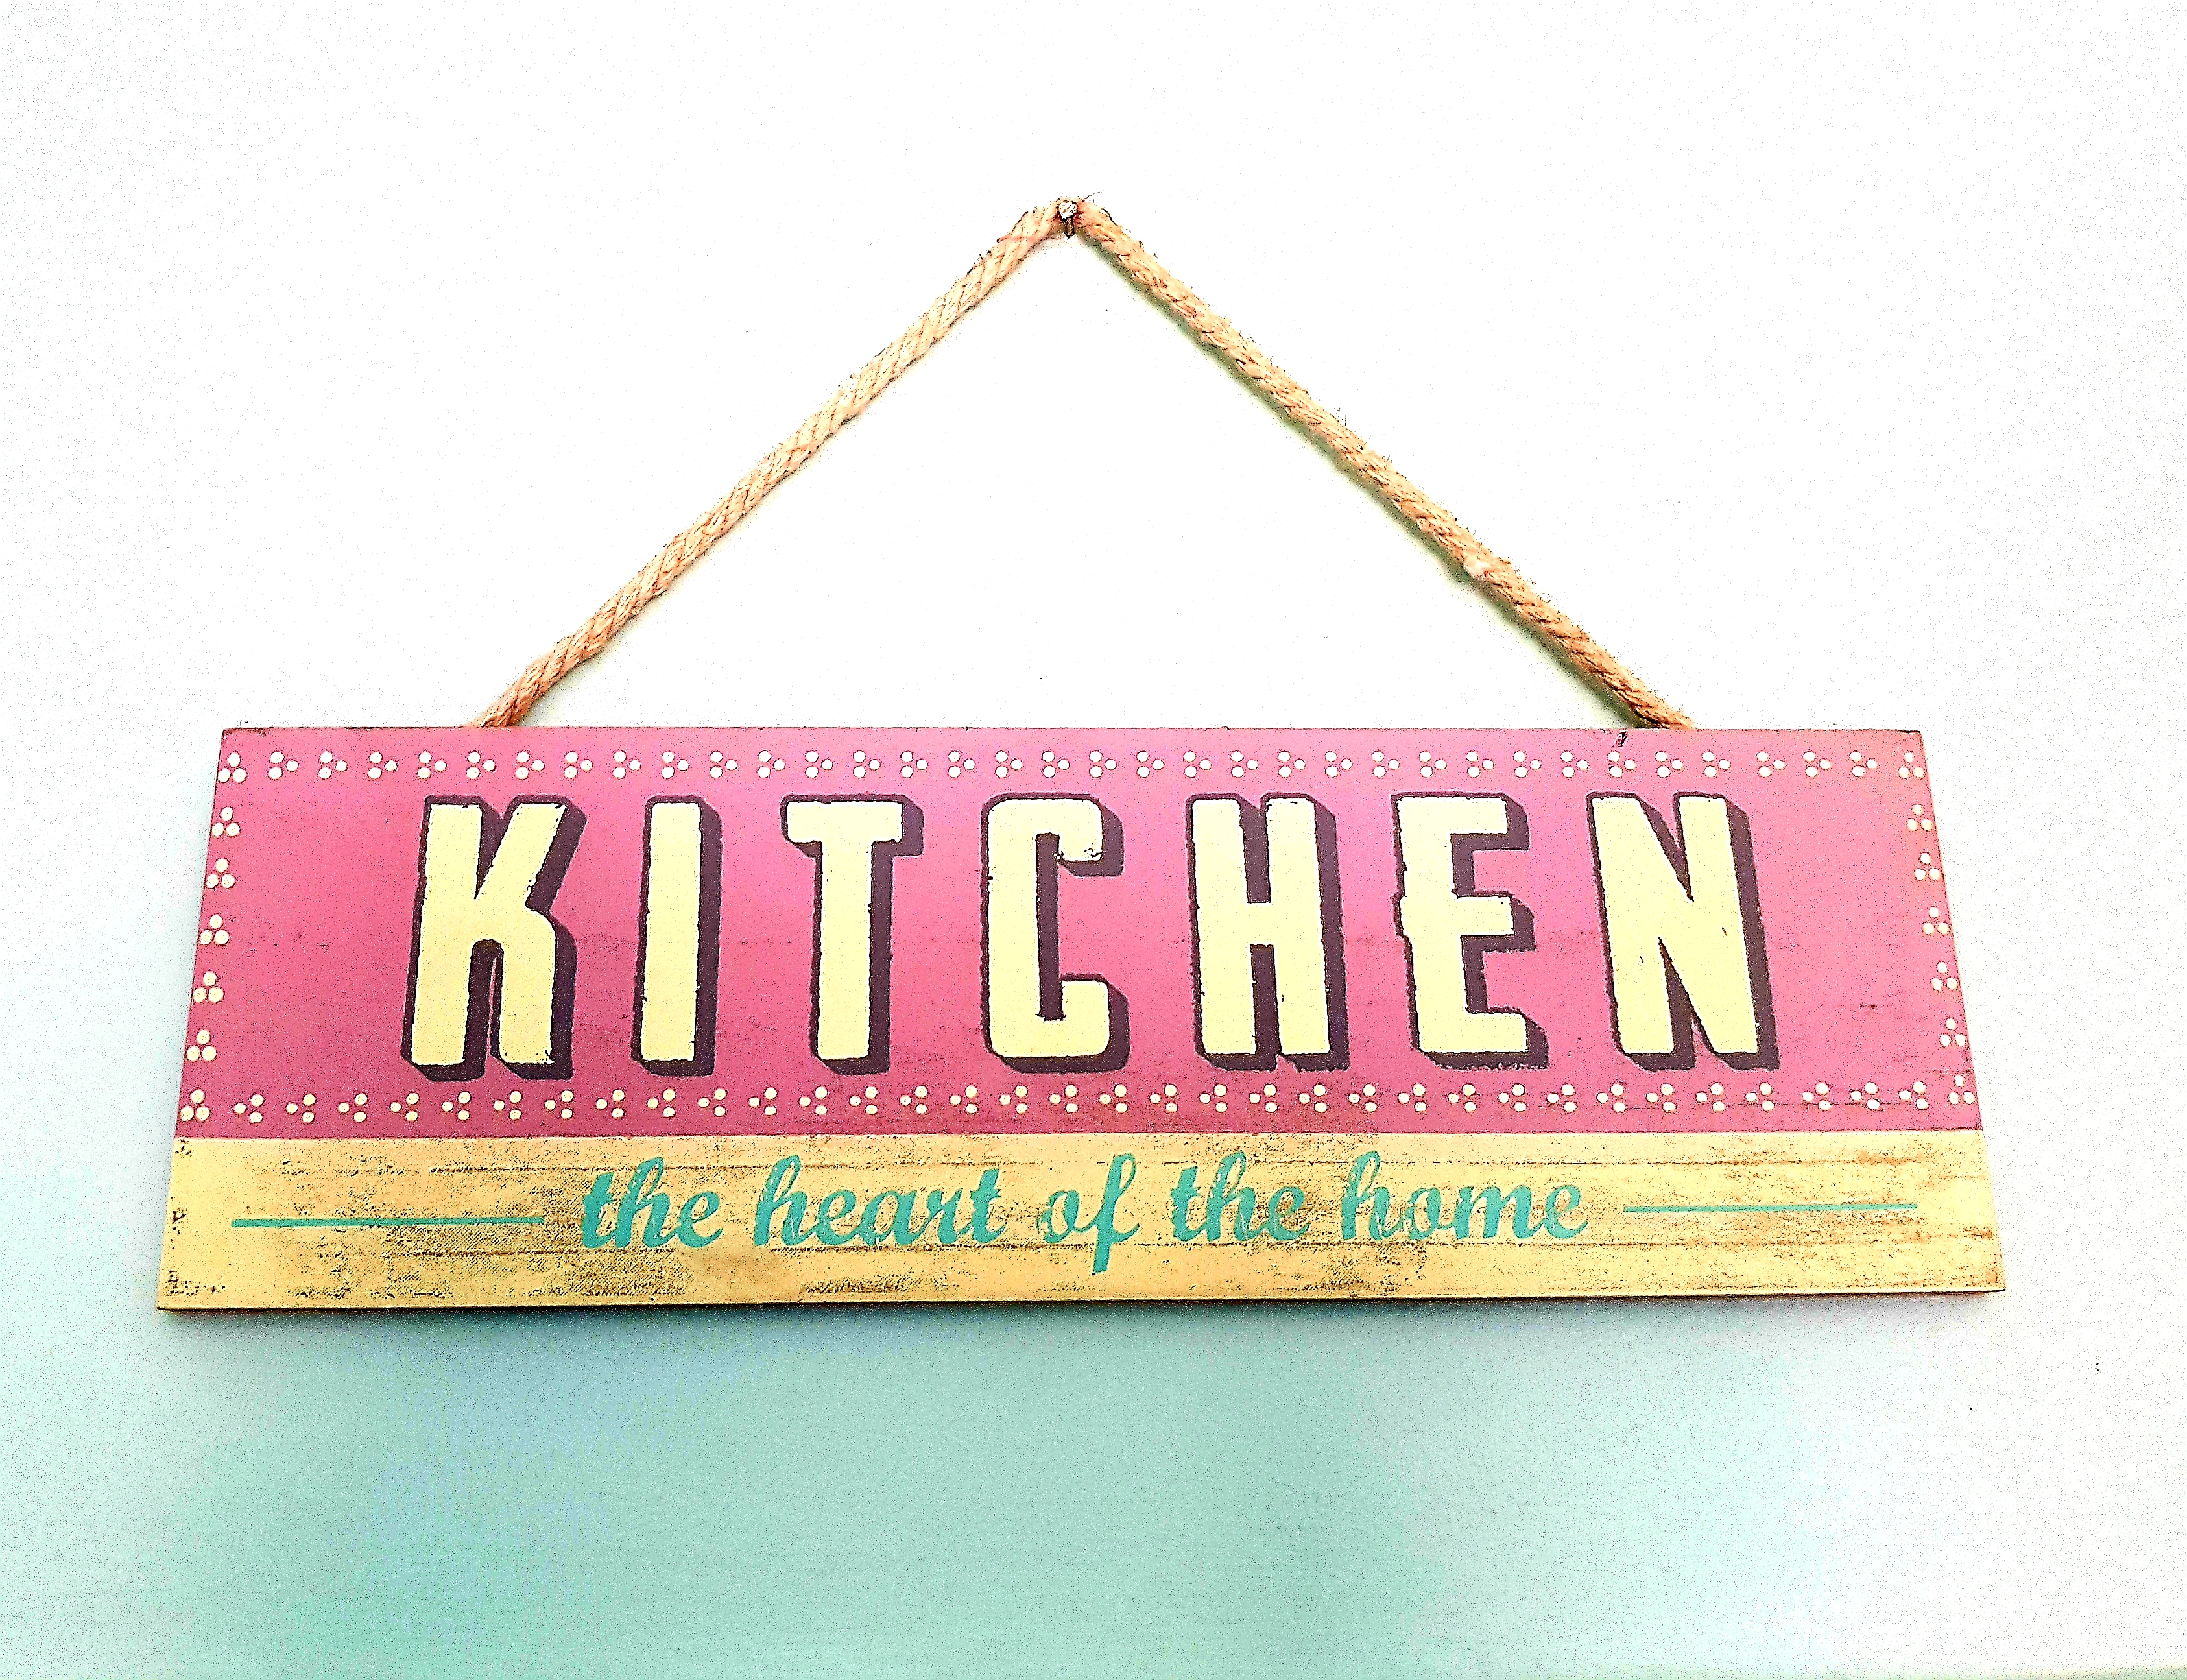
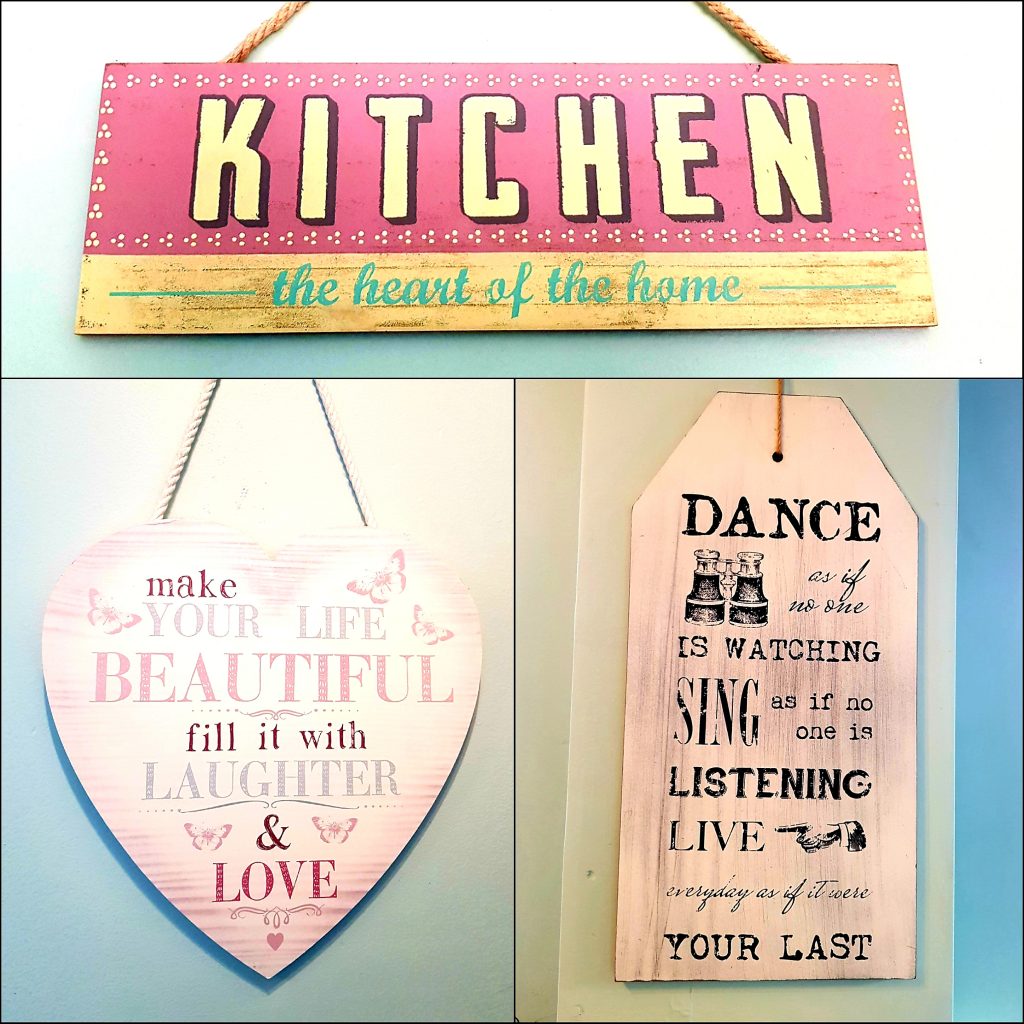
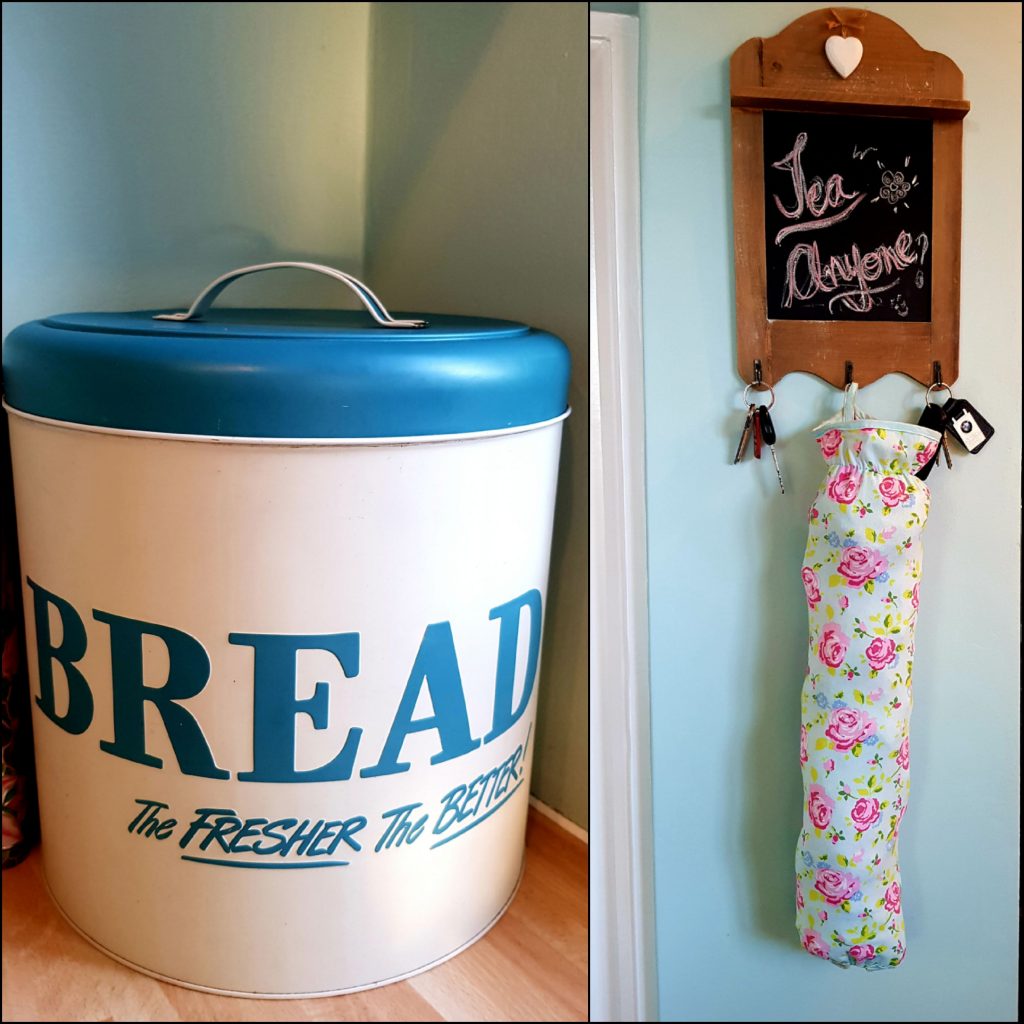
With the dirty work done, came the exciting Pinteresty part : The decor that would accent the whole vintage look and no vintage look is ever complete without buntings, plaques/signs and a few heart hangings here and there and I did just that! Take a peek below:
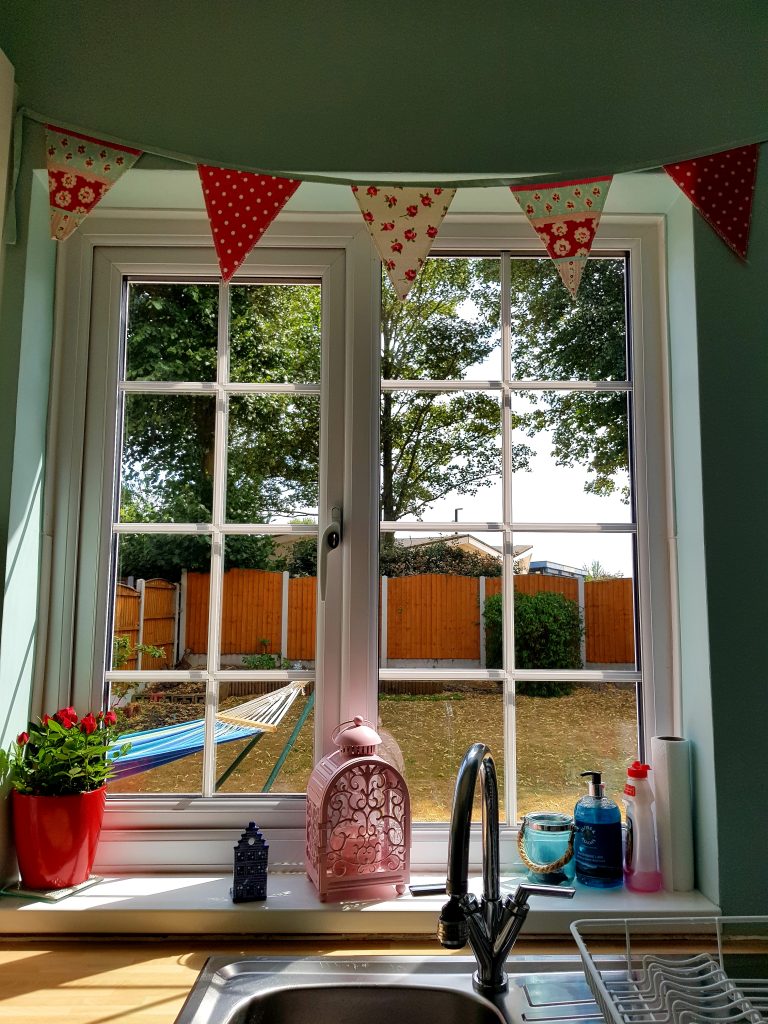
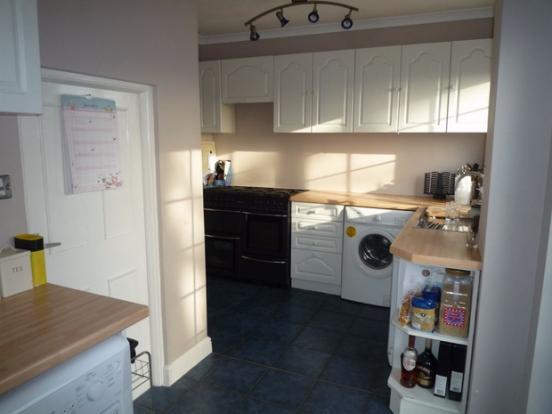
And here I present with much pride, a few AFTER pics, from every possible angle, of my now much-loved kitchen:
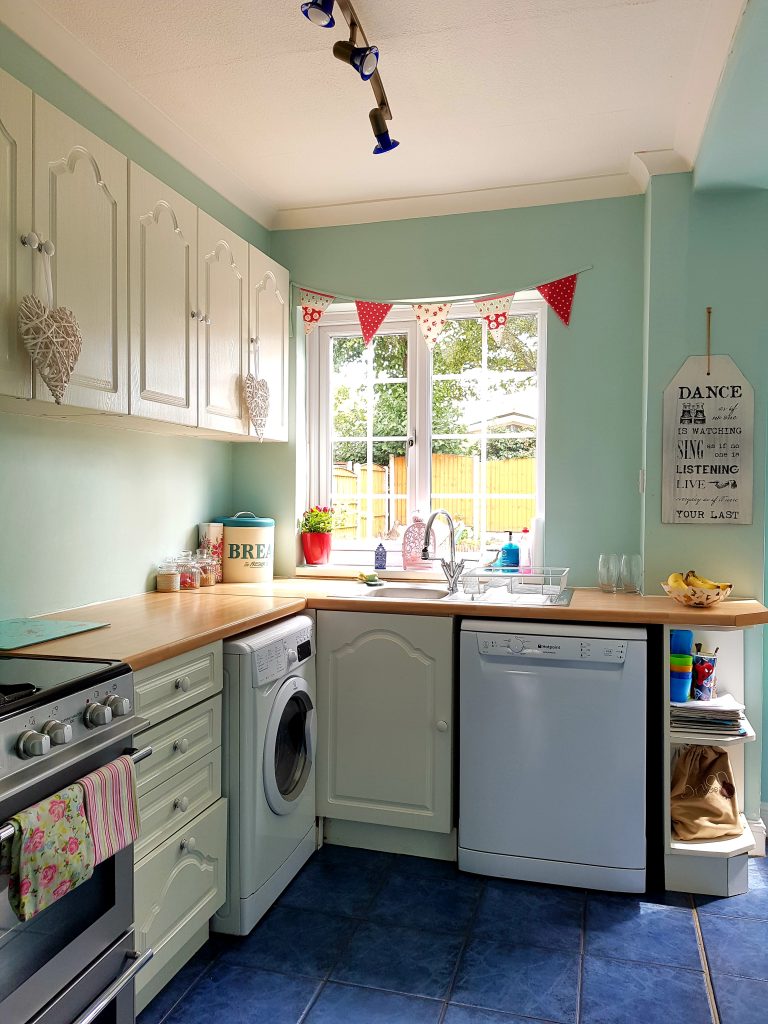
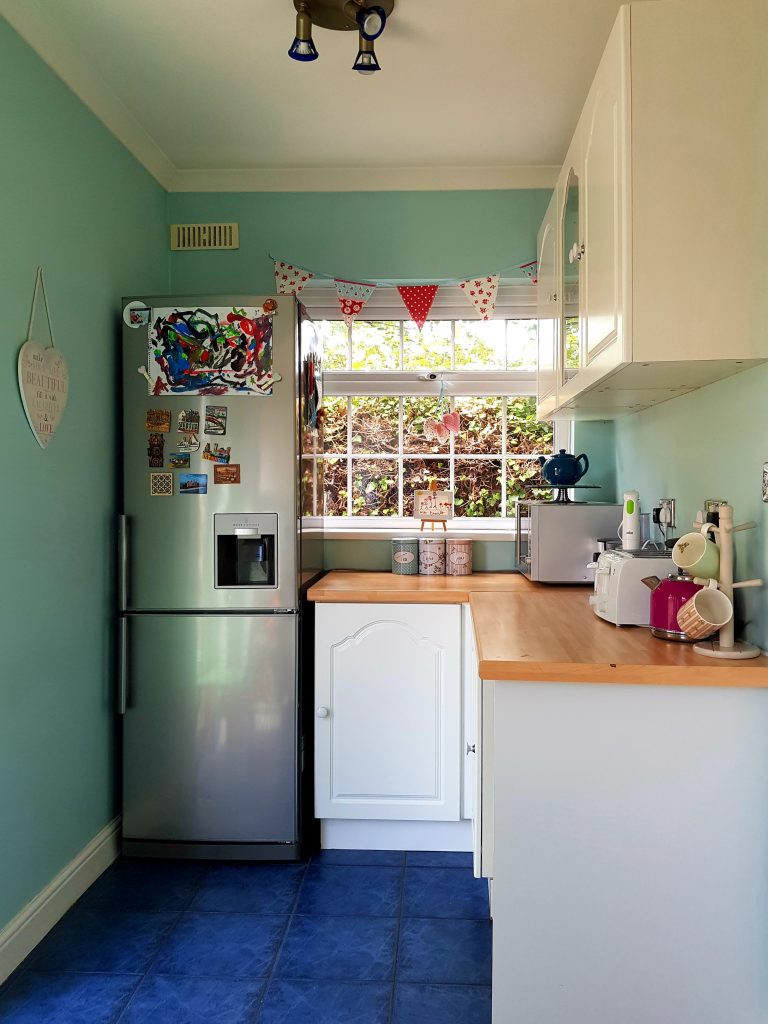
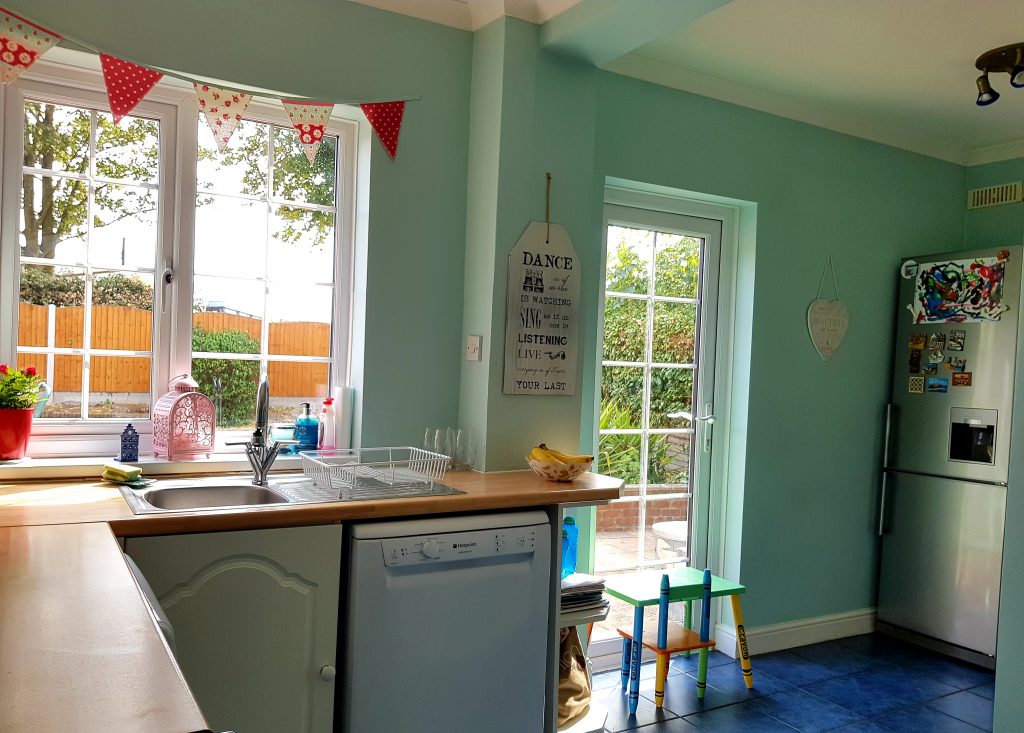
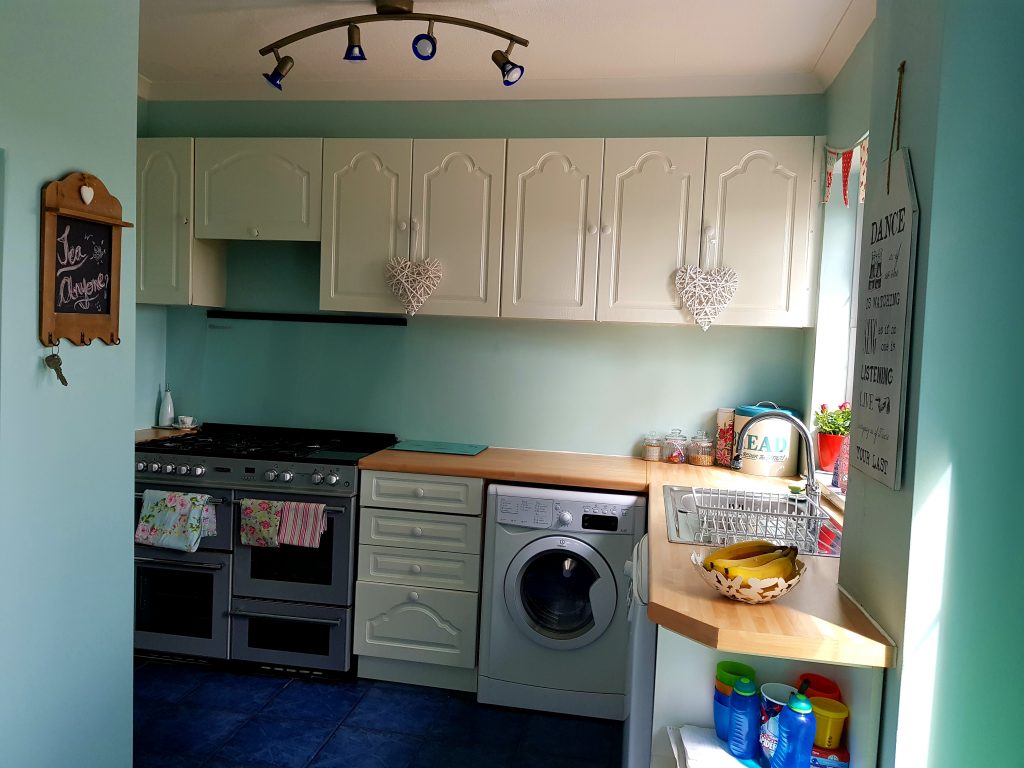
Seeing these pics, I must admit, I am falling in love with it all over again! ♥
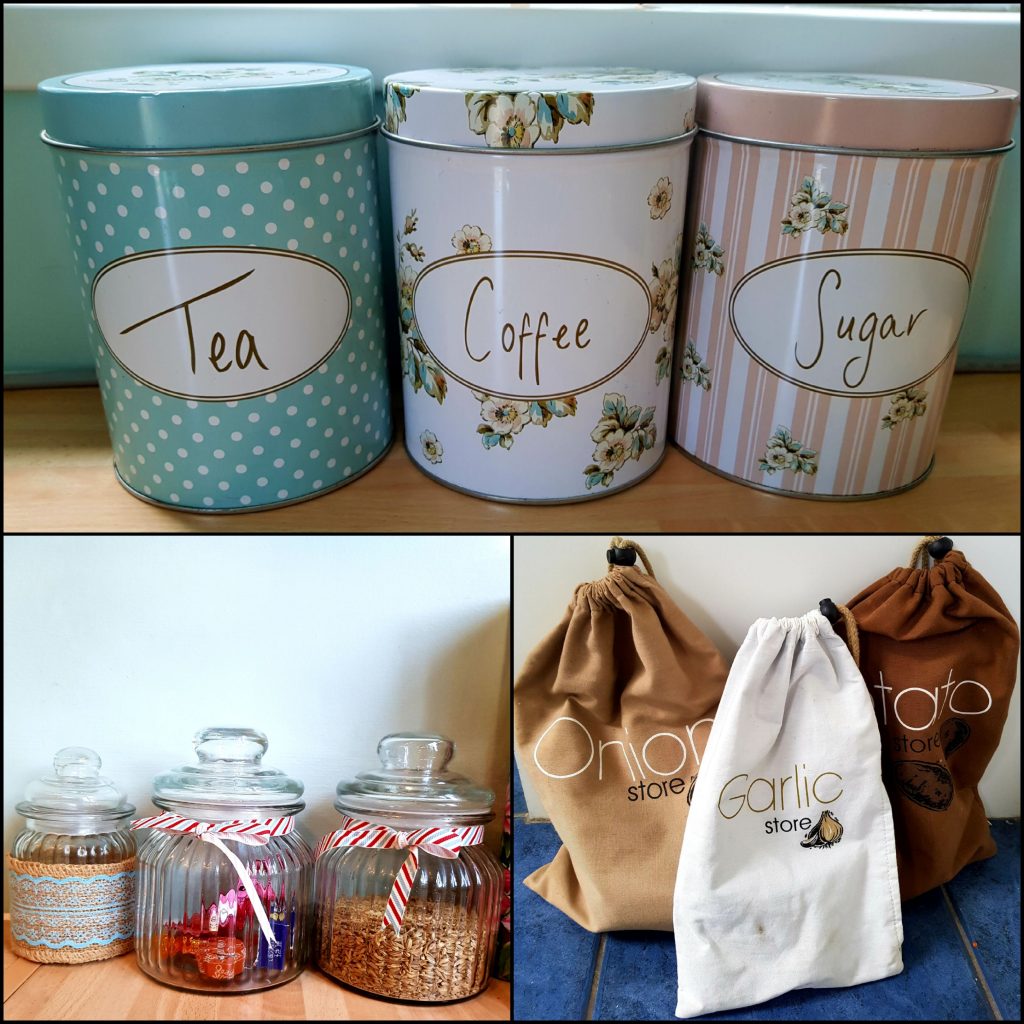
However, a kitchen can look nice and all but it has to be “practical” with lots of storage so I made sure not to get carried away with just the pretty decor part and ignore this important fact. There is always a way to incorporate your theme in the practical items too as is evident in the following images of my storage containers, sweet jars, vegetable bags and even a vintage-fabric carrier bag holder.
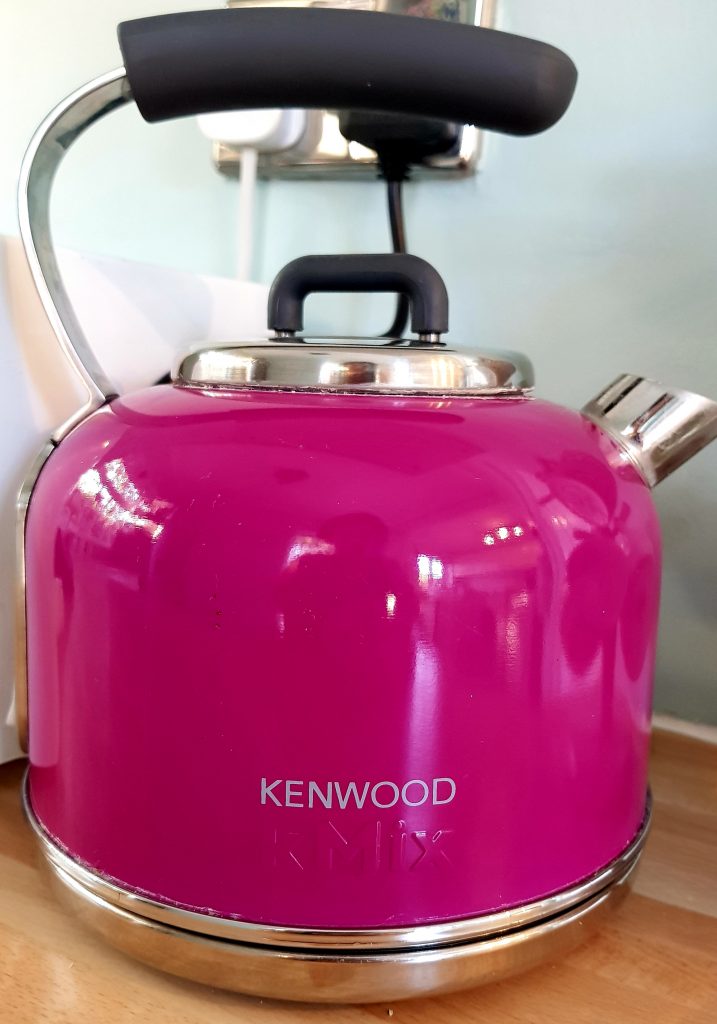
I know this post has probably more images than text but just one last, or almost last, picture I am going to share is of this hot pink electric kettle I stumbled upon while not even looking for it and it cost me only £20 on clearance at Robert Dyas! It’s as if the Gods, the Old and the New, wanted me to have it in my new kitchen.
And finally the LAST pic, the highlight of my decor, this stick family portrait my son did when he was 4.5 years old. The mum in me couldn’t help but share his masterpiece. He sure has potential to be a portrait artist, don’t you guys agree? LOL

And that’s all folks! Hope you liked my amateur attempts at sprucing up my tired kitchen. Do let me know if you did or even if you didn’t 🙂 Ta!
Absolutely loved it! And yes your kitchen sure is very inviting 🙂 the matching accessories and decor add the quirkiness to it. I, for one definitely enjoy making tea in your kitchen 😉
July 23, 2018 at 5:38 pmThanks babe! And I am ever so grateful for all your chai making help 🙂
August 1, 2018 at 11:15 amWow … Absolutely stunning , 100% agree with what you have written and no doubt your kitchen is beautiful indeed!!
July 24, 2018 at 9:03 pmThank you so much love!
August 1, 2018 at 11:13 amAbsolutely amazingly beautiful ?? Zehra , very nicely decorated and very well penned down!!
July 30, 2018 at 4:18 pmThank you so much Sara..coming from someone as sughar as you it really is a compliment 🙂
August 1, 2018 at 11:10 am